Adding New Users
Click the add new button in the Users column.

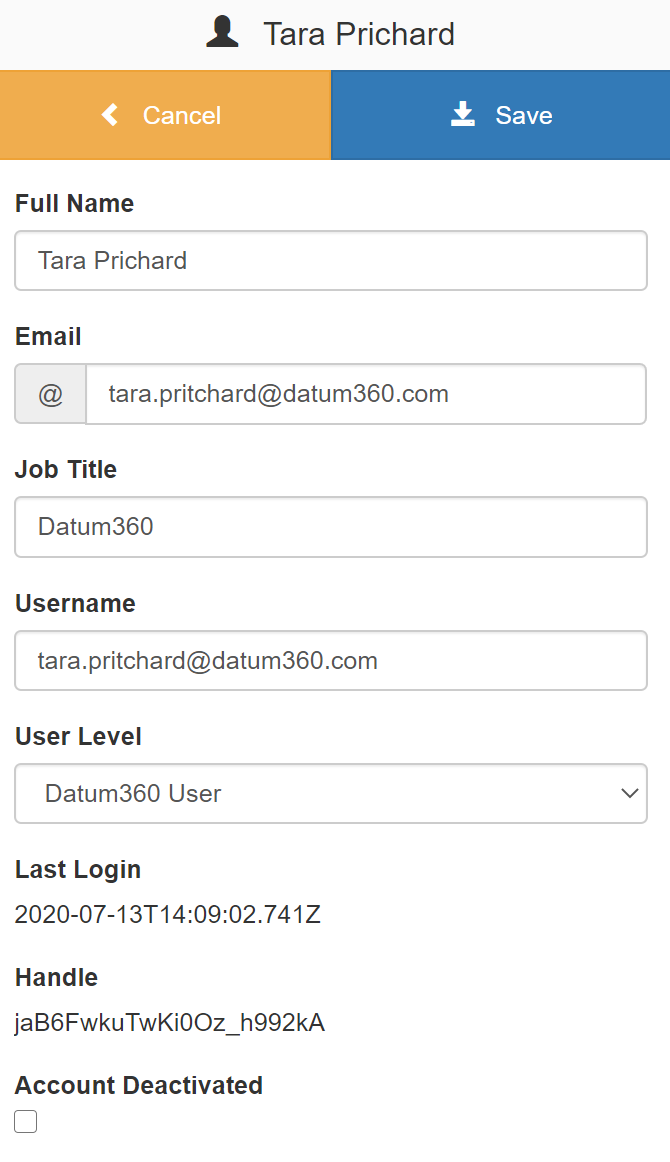
Complete the user details form.
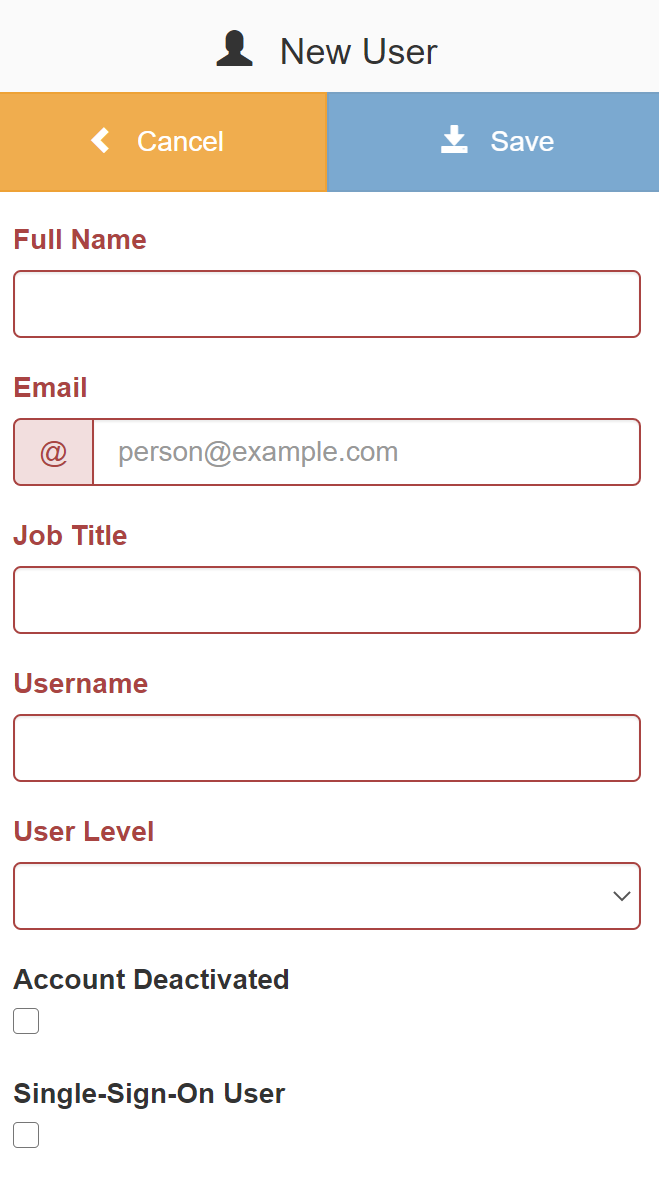
Usernames must be in lower case and can contain letters, numbers, hyphen or full stop.
Click save to create the user.

Once the user is created they will appear in the list of users but at this point they do have any permissions applied.
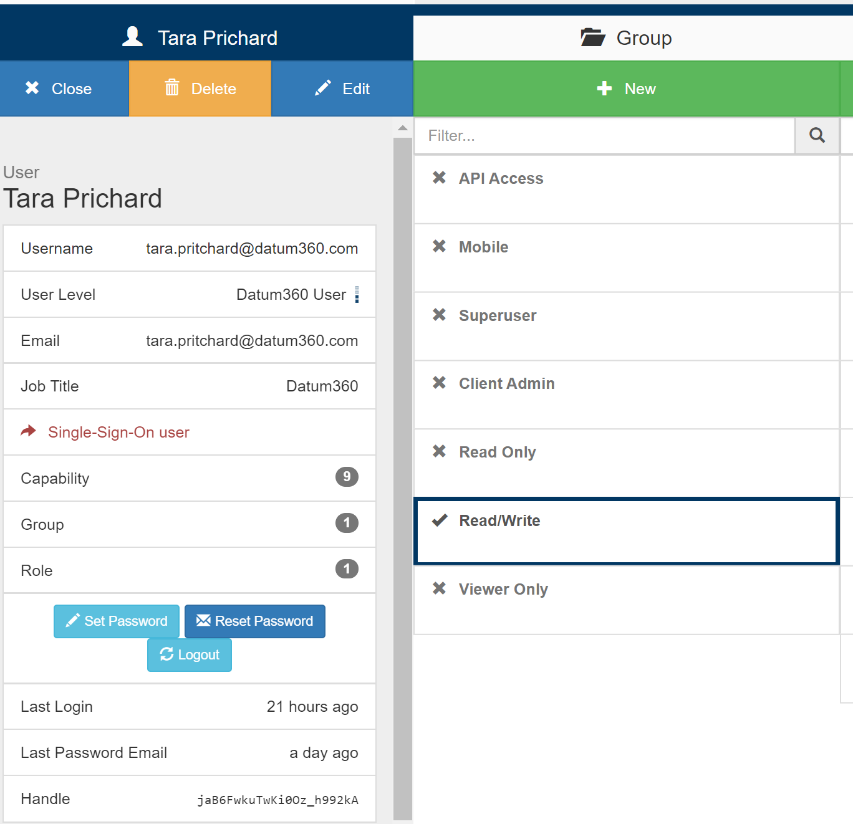
Navigate to the new user and click on their name.
Then select and double click a group to add it to their account.
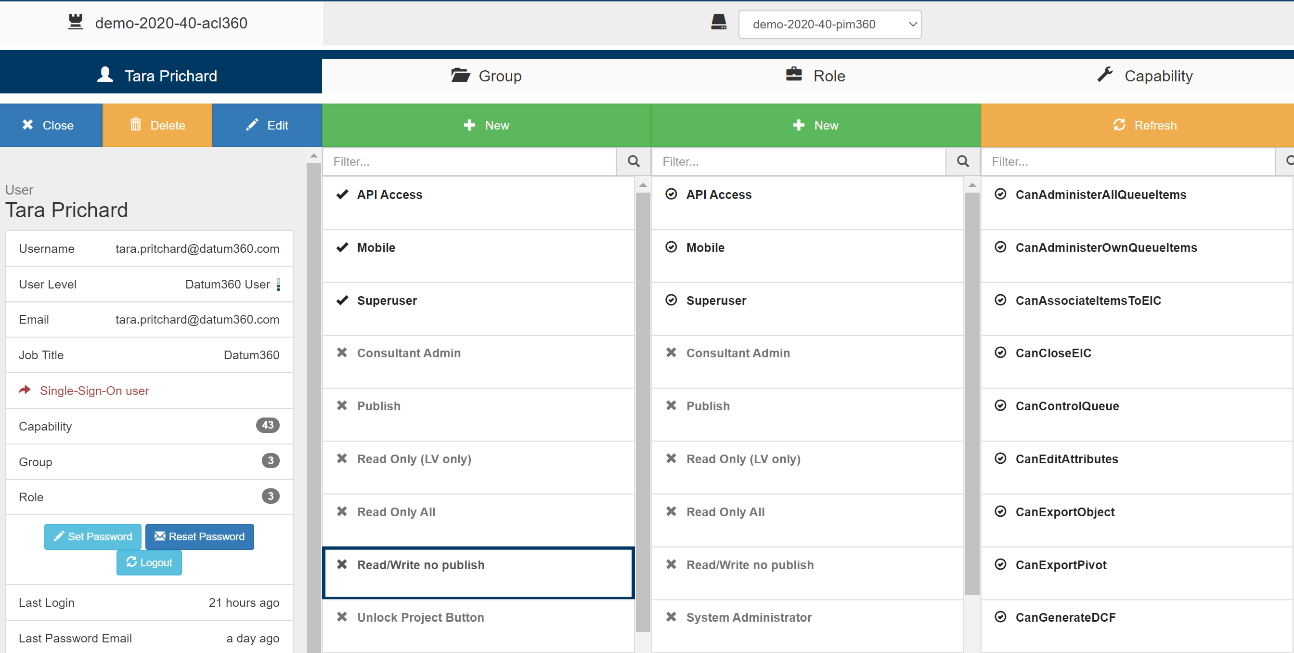
It is advised that you only assign permissions at a group level. See Adding New Groups for creating and editing groups.
Sending Welcome Email
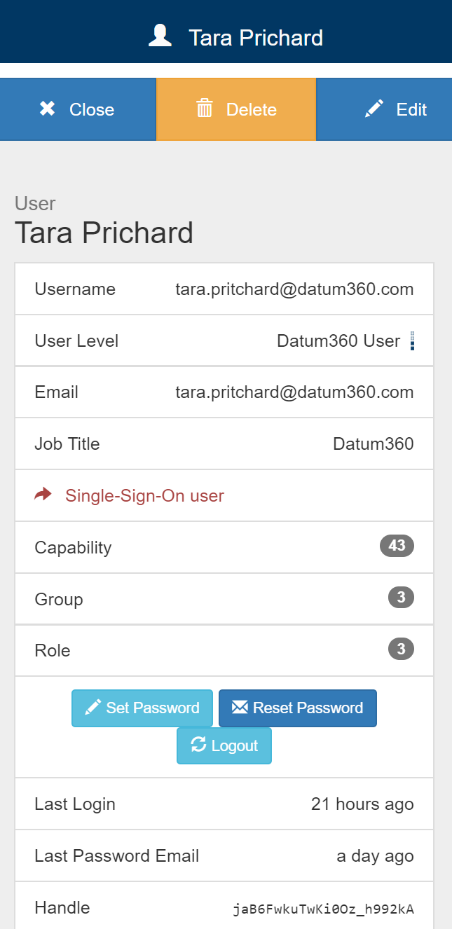
Once you have set up the user you can send out the welcome email by clicking ‘Reset Password’.
As the Reset Password link expires after 24 hours when you are creating multiple users you can skip this step and get the system to send the emails to all new users in one go at a time that suits you. See Sending Bulk Welcome emails
You can pre-set a password by selecting the Set Password if required but for security reasons it is advised this is only used sparingly. If you pre-set a password, it will force a password change the first time the user logs in.
All changes are saved as you go so once you have finished editing a user you click the Close button to go back to the full list of users.
Sending Bulk Welcome Emails
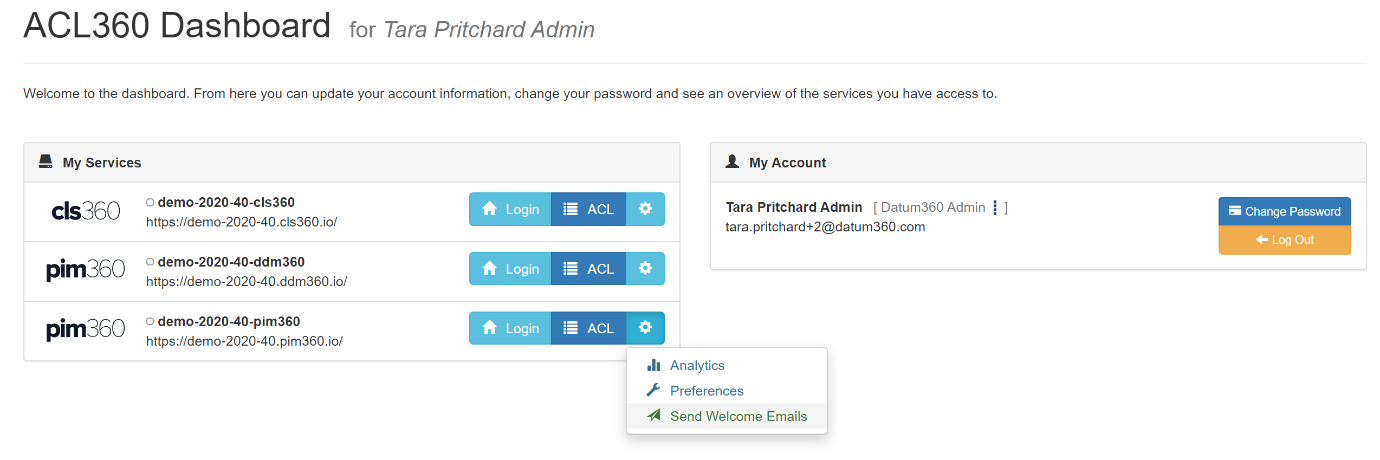
Return to the dashboard by clicking the home button at the top left of the screen
Select the system (CLS360 or PIM60) that you have set the new users up on.
Click the settings button and select the ‘Send Welcome Emails’ option
Editing Users
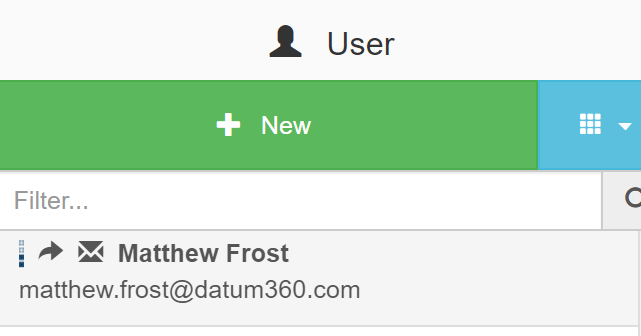
When viewing the list of users you can clearly see which users have managed to log into their accounts. If there is an envelope next to the name it means they have not yet clicked on the reset password link.
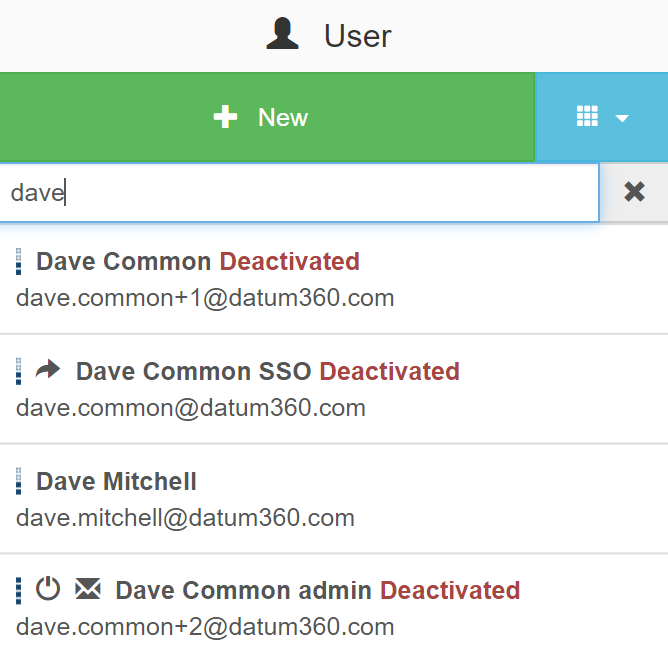
You can find a specific user by starting to type part of their name in the Filter box and it will dynamically restrict the list.
To make changes to their permissions click on the user name and double click on a group to add or remove it.
Removing Users
Users cannot be deleted once created. They will need to be de-activated by clicking on their name and selecting edit.
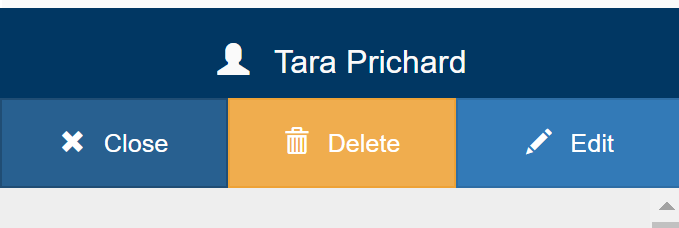
Then check the Account Deactivated box.
Adding New Groups
Click the add new button in the Group column.
Add a Group Name.
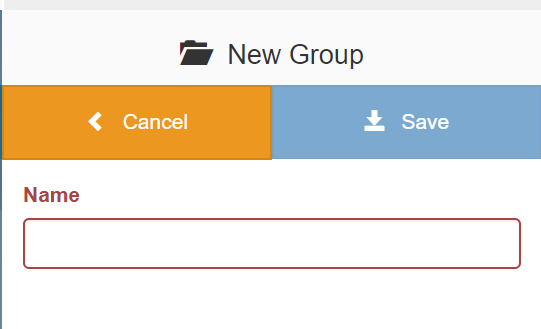
Then click save to create the Group.
Once the group is created it will appear in the list of groups but at this point they do have any roles applied.
Navigate to the new group and click on it to add roles, select and double click a role to add it to the group
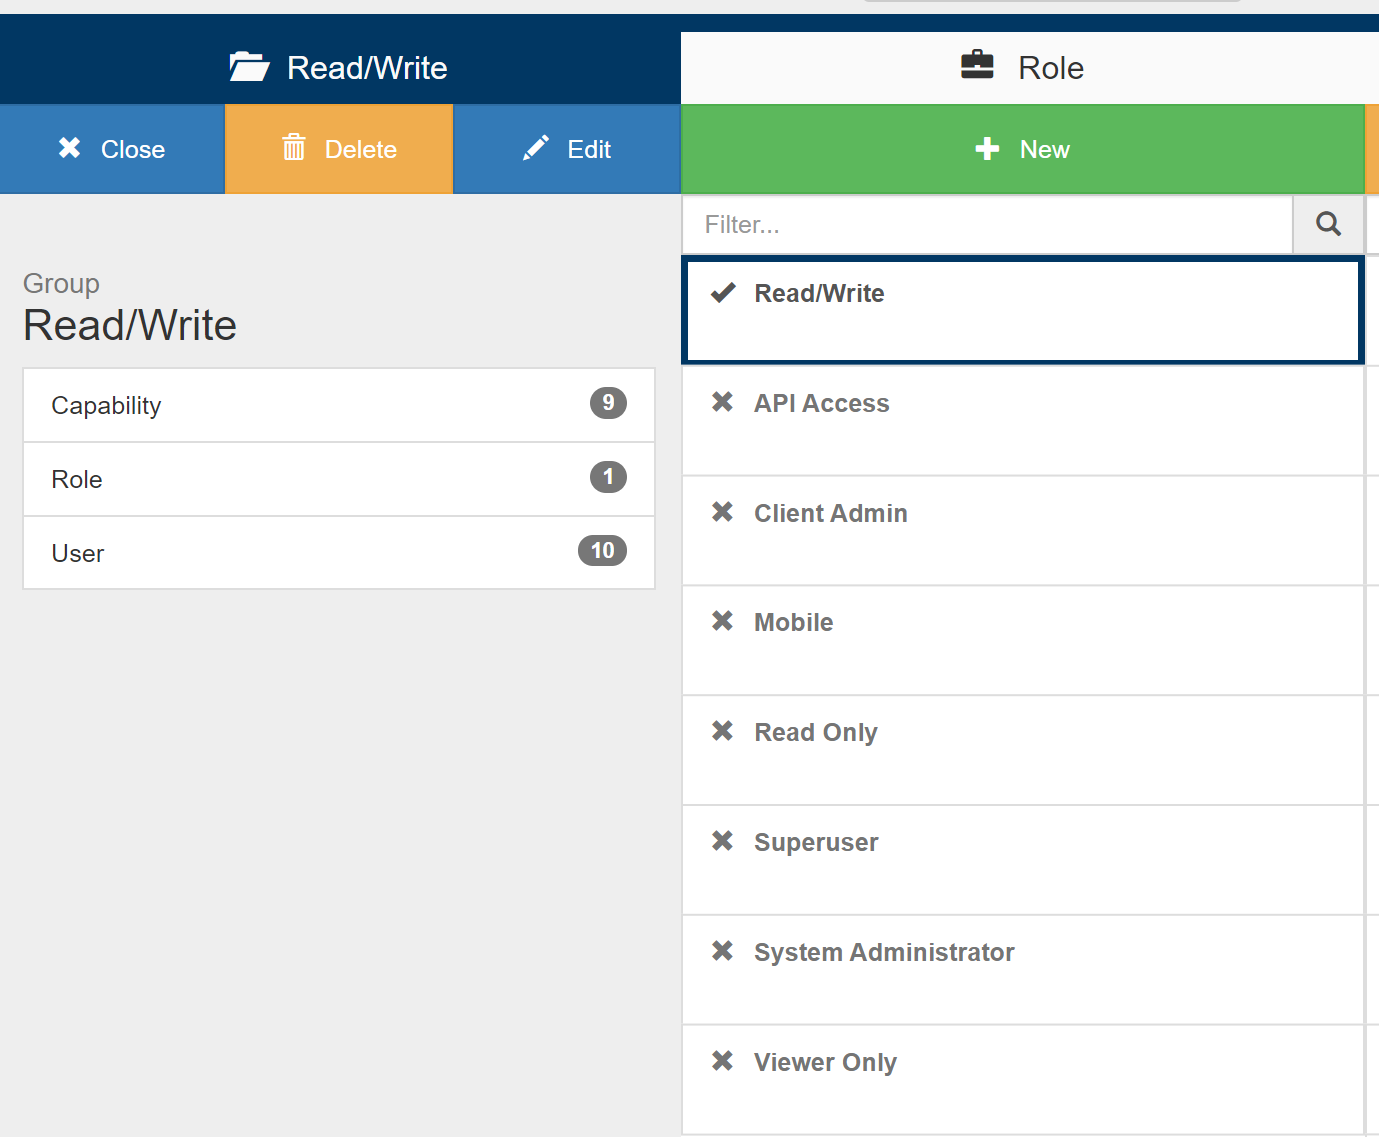
Editing Groups
To make changes a group click on the name and double click on a role to add or remove it.
Click on Edit to make changes to the Group Name.
Adding New Roles
Click the add new button in the Role column.
Add a Role Name.
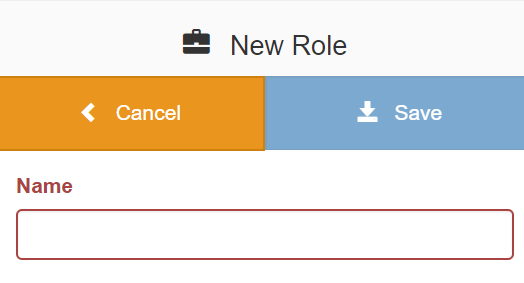
Then click save to create the Role.
Once the Role is created it will appear in the list of Roles but at this point they do have any capabilities applied.
Navigate to the new Role and click on it to add capabilities, select and double click a capability to add it.
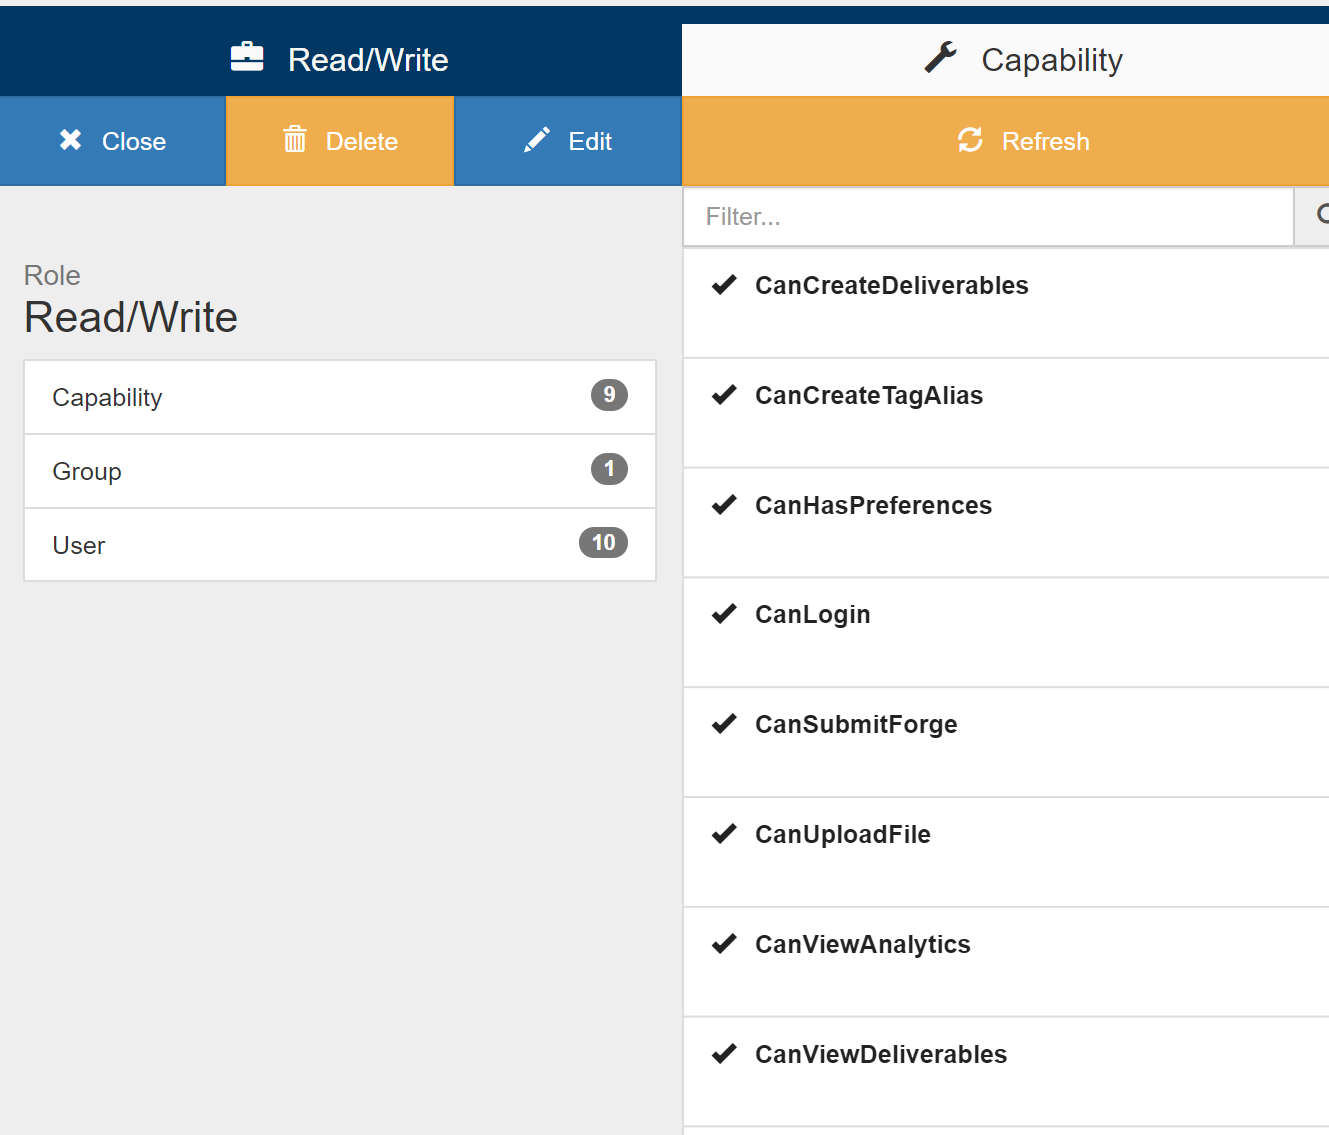
Editing Roles
To make changes to a Role click on the name and double click on a capability to add or remove it.
Click on Edit to make changes to the Role Name.